

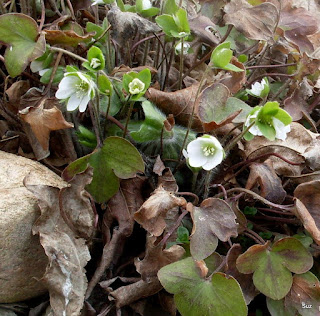
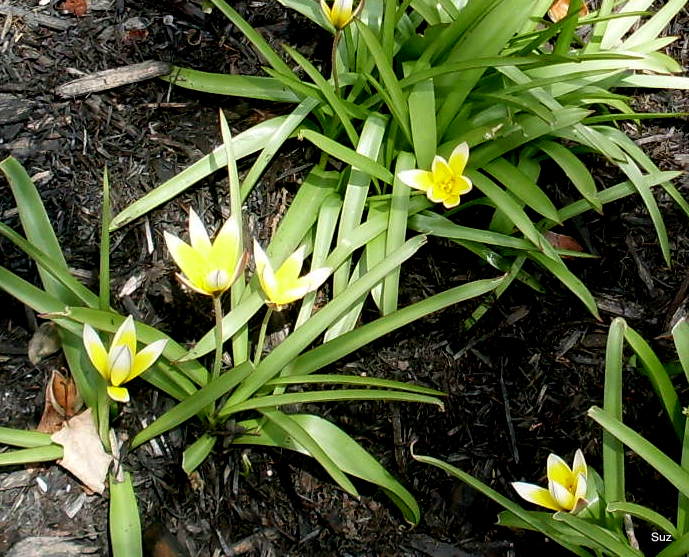
In the gardens, spring has sprung!

Flowers are bursting through the ground

 The magnolia tree is in bloom, too!
 There are so many flowers this year.

Wow!
I finished this block for my Purple Project, thinking to send it away to The Kindness Quilt Project promoted by Vickie Boster, and then realized it was too large.

Ratz!
So I trimmed another of the purple blocks to the correct size, and then had fun embellishing it.


This block will be in the mail tomorrow. If you'd like to know more about The Kindness Quilt Project, click here
The next block in the Purple Project is awaiting needle and thread.

Although I've been busy in the gardens, there has been a bit more stitching.........

All the padded satin stitching is finished on this flower, and I've begun adding the petal outline in a dark blue. sorry this is a bit blurred

Here's how the 2 flowers look together. I hope to make more progress on the crewel piece this coming week, maybe even finishing flower #2.

More machine stitching has been added to the silk panel, somewhat distorting its shape. Since this is a garden panel, and since gardens are seldom exact, I think the distortion adds a bit of character and interest. (which is really good, because I think ripping out all that stitching at the bottom would be a bear)
The next step is to add hand embroidery using a variety of threads.

The wrapping cloth piece also received a little time. The third prairie point is filled with bullions, and the beginning of some french knots is shown.

Some embroidery has been added to the lace portion to help (I hope)define and enhance the flower shapes. Lots more stitching needed yet.

The tatted piece is sewn to the front of a card that went out in the mail.

I first stitched this flower design on the inside flap then the border was created when the tatting was added to the front.

I liked it so much, I made a second card, but used a different thread in the bobbin to make a second flower on the inside flap.
These were fun to do.
That's my week. I hope yours was filled with sunshine and creativity.
Hugs from Suz
Thanks for visiting.

Flowers are bursting through the ground


Wow!
I finished this block for my Purple Project, thinking to send it away to The Kindness Quilt Project promoted by Vickie Boster, and then realized it was too large.

Ratz!
So I trimmed another of the purple blocks to the correct size, and then had fun embellishing it.


This block will be in the mail tomorrow. If you'd like to know more about The Kindness Quilt Project, click here
The next block in the Purple Project is awaiting needle and thread.

Although I've been busy in the gardens, there has been a bit more stitching.........

All the padded satin stitching is finished on this flower, and I've begun adding the petal outline in a dark blue. sorry this is a bit blurred

Here's how the 2 flowers look together. I hope to make more progress on the crewel piece this coming week, maybe even finishing flower #2.

More machine stitching has been added to the silk panel, somewhat distorting its shape. Since this is a garden panel, and since gardens are seldom exact, I think the distortion adds a bit of character and interest. (which is really good, because I think ripping out all that stitching at the bottom would be a bear)
The next step is to add hand embroidery using a variety of threads.

The wrapping cloth piece also received a little time. The third prairie point is filled with bullions, and the beginning of some french knots is shown.

Some embroidery has been added to the lace portion to help (I hope)define and enhance the flower shapes. Lots more stitching needed yet.

The tatted piece is sewn to the front of a card that went out in the mail.

I first stitched this flower design on the inside flap then the border was created when the tatting was added to the front.

I liked it so much, I made a second card, but used a different thread in the bobbin to make a second flower on the inside flap.
These were fun to do.
That's my week. I hope yours was filled with sunshine and creativity.
Hugs from Suz
Thanks for visiting.


